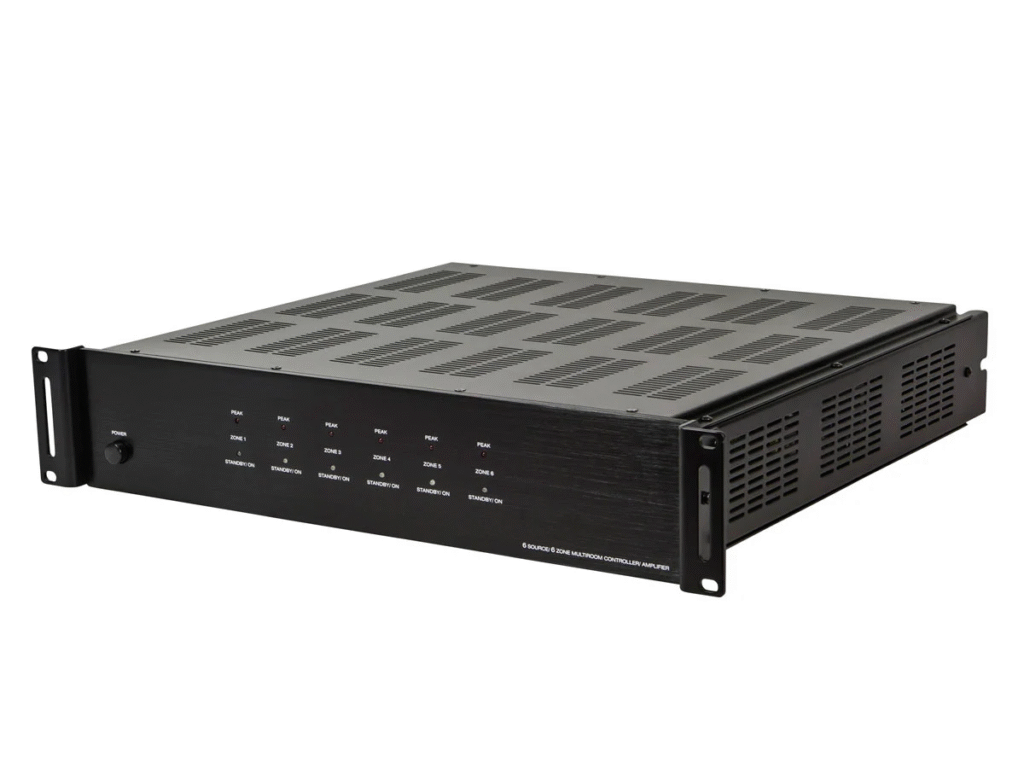
The Monoprice 6-Zone Amplifier is a reliable and budget-friendly multi-zone audio system that supports RS232 control. But what if your Home Assistant server isn’t physically close to the amp?
You can use the USR-TCP232-302 (Ethernet) or USR-W610 (Wi‑Fi) RS232-to-TCP modules to control your amp over the network, no long serial cables required.
🧰 What You Need
- Monoprice 6-Zone Amplifier
- USR-TCP232-302 (Ethernet) or USR-W610 (Wi-Fi)
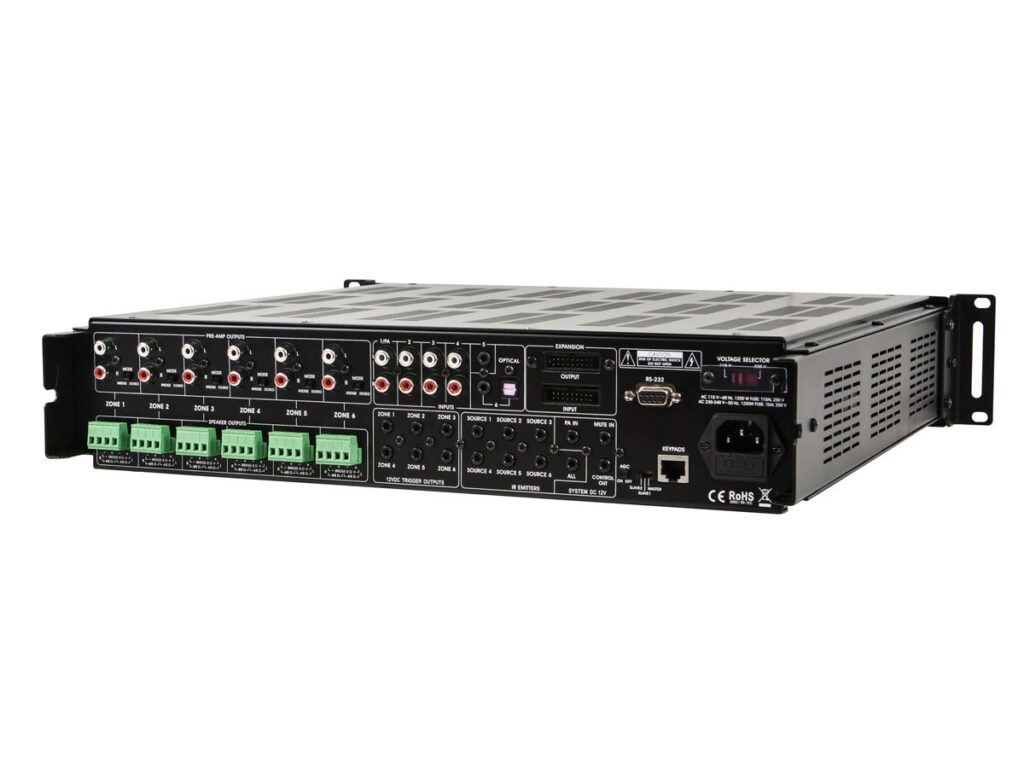
- Null modem adapter (required)
- RS232 serial cable for testing
- Home Assistant on your LAN
📡 Why Use a Network RS232 Module?
If your amplifier is in a different room or floor from your Home Assistant server, connecting them directly via RS232 is impractical. These USR modules let you control the amp over TCP/IP from anywhere on your network.
⚠️ You Need a Null Modem Adapter
Both the Monoprice amp and the USR modules are DTE (Data Terminal Equipment) devices. Their TX/RX lines are not cross-wired by default.
✅ A null modem adapter is required to swap TX and RX lines so communication can work properly.
Wiring Summary:
- TX ↔ RX
- RX ↔ TX
- GND ↔ GND
- Place the null modem adapter between the USR module and the amp
⚙️ Step 1: Configure the USR Module
For USR-TCP232-302 (Ethernet)
- Plug in via Ethernet and access the web interface (
192.168.0.7by default) - Set:
- Mode: TCP Server
- Port: 23 (or 4001)
- Baud Rate: 9600
- Data Bits: 8
- Parity: None
- Stop Bits: 1
- Flow Control: None
For USR-W610 (Wi‑Fi)
- Connect to its Wi‑Fi (
USR-WIFI) - Open
http://10.10.100.254in a browser - Join your home Wi-Fi
- Configure:
- Mode: TCP Server
- Port: 23
- Serial settings: 9600, 8N1, no flow control
💡 Set a static IP or DHCP reservation for stability.
🧪 Step 2: Test with telnet (for fun)
1. Install inetutils (Arch Linux):
sudo pacman -S inetutils
2. Open a Telnet session:
telnet 192.168.1.150 23
3. Send test commands:
?Z01        → Query zone 1
Z01PR01     → Power ON zone 1
Z01PR00     → Power OFF zone 1
Z01VO20     → Set volume to 20
Z01CH03     → Change source
Z01MU01     → Mute
Z01MU00     → Unmute
✅ If working, you’ll see responses like Z01VO20.
❌ If nothing happens: check the null modem adapter, baud settings, and port mode (must be TCP Server).
🏠 Step 3: Add the Amp to Home Assistant
Home Assistant supports this amplifier natively.
Use the UI:
- Go to Settings → Devices & Services → Add Integration
- Search for Monoprice 6-Zone Amplifier
- When prompted, enter:
socket://192.168.1.150:23
(Replace with your module’s IP and port.)
After setup, Home Assistant will create media_player entities for each zone. You can rename or disable zones via the integration’s options menu.
📖 Official docs:
👉 https://www.home-assistant.io/integrations/monoprice/
🧰 Troubleshooting Tips
| Problem | Solution |
|---|---|
| No amp response | Check null modem adapter and wiring |
| Commands don’t work | Ensure you end with a ` |
| Wrong input/volume | Confirm command syntax and zone numbers |
| HA can’t connect | Verify IP, port, and TCP Server mode |
✅ Summary
The USR-TCP232-302 and USR-W610 make it easy to control your Monoprice amp over Ethernet or Wi‑Fi, even from the other side of your house. Once connected, Home Assistant gives you full control of zones, volume, source switching, muting, and automation triggers.
✅ Don’t forget the null modem adapter—without it, the RS232 connection will not work!
With this setup, you gain seamless whole-home audio control—all integrated into your smart home.
📘 Learn more:
👉 https://www.home-assistant.io/integrations/monoprice/